business
Patio Installation Services: Start Your Own Patio Business

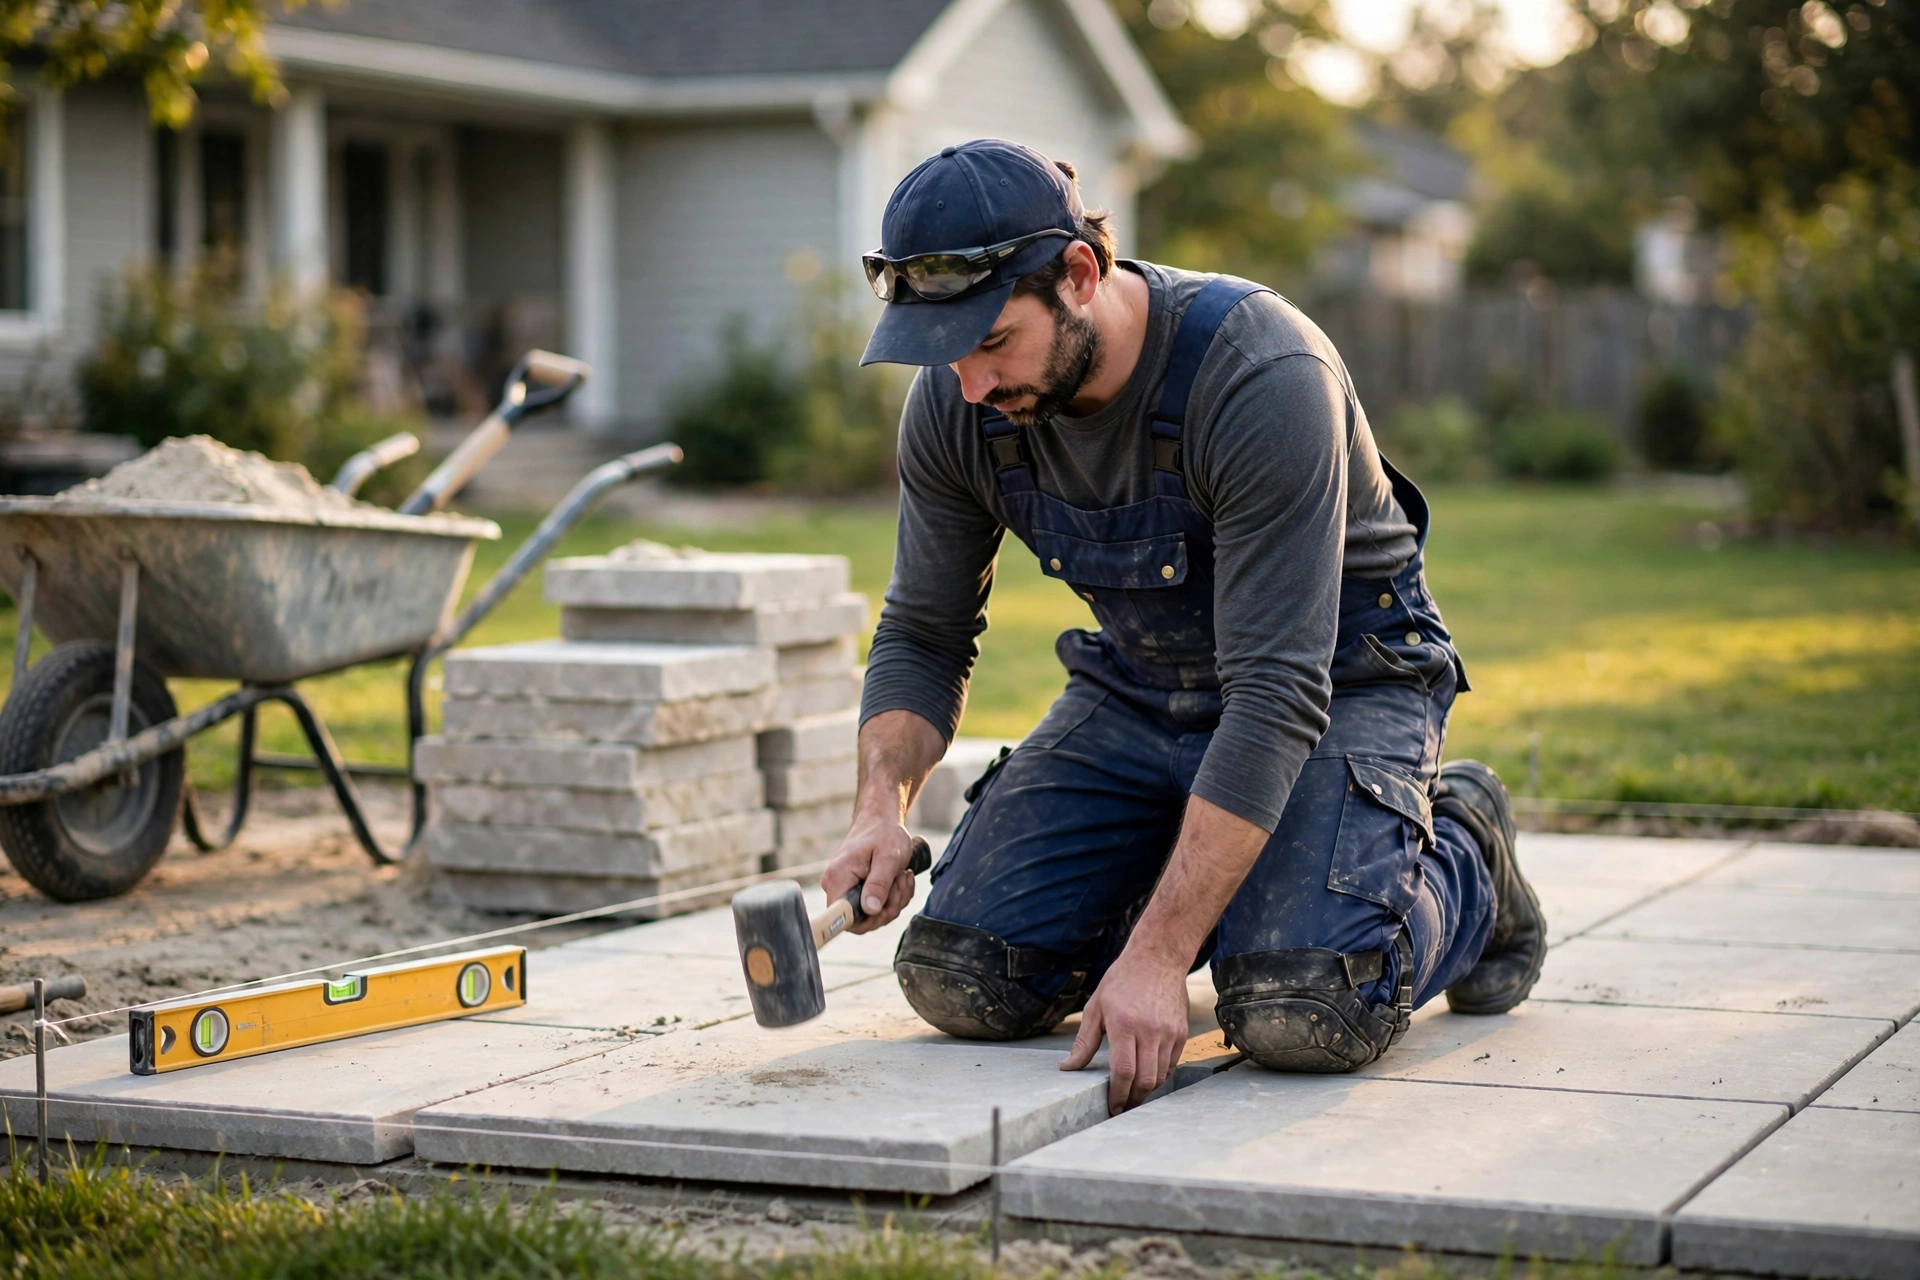
Homeowners are spending more on outdoor living than ever before. A plain backyard is no longer enough — families want a proper patio for summer evenings, weekend barbecues and morning coffee. That demand is exactly why patio installation services have become one of the most reliable trades for a hands-on person who wants to run their own business. You do not need a degree, a big office or a huge loan. You need solid practical skills, the right tools, a clear pricing system and a steady way to win local jobs.
This guide walks you through launching a patio-installation business from scratch: the skills to learn, the licences to check, the insurance to carry, the equipment to buy, how to price a job so it pays, and how to win your first customers. Follow the steps in order and you can be quoting real jobs within a few weeks.
Step 1: Learn the Trade Before You Sell It
Nobody hires a patio installer who has never laid a paver. Before you take a single booking, you need real hands-on skill. The core skills are excavation and levelling, laying a compacted sub-base, screeding bedding sand, setting pavers or slabs with even joints, cutting pavers cleanly, and finishing with jointing sand and sealant.
The fastest way to learn is to work for an established crew. Spend three to six months with local patio installation companies or a landscaping firm and you will learn more than any video course can teach: how a base is really built, how drainage is handled, and how a crew paces a two-day job. Pay attention to the estimating side too — watch how the boss measures a garden, works out materials and writes the quote.
If you cannot get a crew job straight away, take a short hardscaping or paving course at a trade college, then practise on your own garden, a family member’s patio or a small paid job for a neighbour at cost price. Photograph everything. Those first photos become your portfolio.
Also learn the materials. Concrete pavers, natural stone, brick, porcelain slabs and gravel each behave differently, and each has its own price point. A customer who asks about a sandstone patio expects you to know how it differs from a concrete paver patio — in looks, in laying method and in cost.
Step 2: Choose Your Services and Your First Materials
A new patio-installation business should not try to do everything. Pick a tight menu of services you can deliver well, then widen it as you grow. A sensible starting menu is:
- Paver patios — concrete or clay pavers in standard patterns
- Natural stone patios — sandstone, limestone and slate slabs
- Brick patios — classic herringbone and basket-weave designs
- Porcelain slab patios — a premium option for modern gardens
- Patio repairs and re-laying — lifting, re-levelling and re-jointing old patios
- Paths and edging — small jobs that keep cash flowing between big installs
Material choice shapes your pricing. The paver patio cost for a standard 20-square-metre garden patio is usually far lower than a natural stone one, and customers need to hear that honestly before they choose. Keep a small sample board in your van — a paver, a brick, a stone slab and a porcelain tile — so a customer can see and touch the options at the first visit.
Talk to two or three local builders’ merchants early. Ask about trade accounts, delivery times and bulk prices for pavers, bedding sand, sub-base aggregate and jointing compound. A merchant who delivers reliably is worth more than one who is slightly cheaper but late. When you understand the patio pavers cost from your supplier, you can quote with confidence instead of guessing.
Step 3: Register the Business and Check Licences
Treat this as a real business from day one. Register as a sole trader or form a limited company, register for tax, open a separate business bank account and keep business money apart from household money. A simple bookkeeping app and a folder for every receipt will save you hours at tax time.
Licensing depends on where you work. Many areas need no specific licence for small residential patios, but some require a general contractor licence once a job passes a value threshold, and structural work such as high retaining walls often needs a permit and an engineered drawing. Call your local licensing office and your city or county clerk before your first job and ask in plain words what a patio installer needs. Get the answer in writing if you can.
Experienced patio installation contractors will tell you the same thing: permits and paperwork feel slow, but a job stopped halfway by an inspector costs far more than a phone call made in advance. Build permit checks into your quoting process so every job starts clean.
Step 4: Insure the Business Properly
Insurance is what separates a real patio company from a person with a wheelbarrow. The non-negotiable cover is general liability insurance. You are digging near gas and water lines, moving tonnes of aggregate and building surfaces people will walk on for twenty years. If a wall settles, a guest trips on a raised paver or a machine clips a buried cable, liability cover stands between an accident and the end of your business.
Add commercial vehicle cover for your truck or van and trailer, and equipment cover for your plate compactor, saws and levels. The moment you hire anyone — even one labourer for a single job — workers’ compensation is usually required by law. Get quotes from two or three brokers who understand construction trades; a broker who knows the trade will not sell you cover you do not need.
Keep your insurance certificate in the van and a copy on your phone. Homeowners ask for it, builders ask for it, and showing it without being asked builds trust instantly.
Step 5: Price Every Job So It Actually Pays
Pricing is where most new patio businesses fail. Quote too low and you work hard for nothing; quote too high and the phone stops ringing. Build every quote from the same formula: materials + labour + equipment and delivery + overheads + profit margin. Never quote a round number from memory.
Start by learning the real numbers. The patio installation cost for a typical residential job breaks down into excavation and disposal, sub-base aggregate, bedding sand, the pavers or slabs themselves, edging, jointing compound and sealant. Labour is usually the largest single line. On top of that, add van fuel, tool wear, insurance, advertising and a profit margin of at least 20 percent. A job that only covers costs is a hobby, not a business.
Customers will ask the same question in different ways: how much does a paver patio cost, what is the cost to install a paver patio, and how does a brick patio cost compare with a stone one? Answer with ranges, not single numbers, and explain what moves the price: size, access, ground conditions, material choice and drainage. A 20-square-metre concrete paver patio with easy access costs far less per square metre than a small sandstone patio squeezed down a narrow side passage with poor drainage.
Write every quote down with a clear scope: what is included, what is not, the payment schedule and the start date. Ask for a deposit for materials before you order anything. And never start digging before the customer has signed the quote.
Step 6: Buy the Right Tools — and Nothing Extra
You do not need a yard full of machinery to start. Buy the essentials, buy them once, and buy tools from job profit rather than from a loan taken before your first customer. Your starting kit should include:
- Plate compactor for the sub-base and the finished surface
- Wet saw or paver splitter for clean cuts
- Long spirit levels, string line and stakes for setting falls and levels
- Rubber mallet, trowels and jointing tools
- Tape measure, chalk line and marking paint
- Wheelbarrow, shovels, rakes and a sturdy broom
- Safety gear: gloves, safety glasses, dust mask, knee pads and steel-toe boots
A reliable van or truck with a trailer matters more than a second compactor. Customers judge you on arrival: a clean, sign-written van with tidy tools says professional before you say a word. Rent the big machines — a mini digger, a dumper — per job until you have enough work to justify buying one. Hiring keeps your fixed costs low in the first year.

Step 7: Win Your First Five Jobs
Your first jobs will come from people who already know you, not from strangers on the internet. Tell everyone — family, friends, neighbours, your barber, your gym — that you now offer patio installation services in the local area. Offer the first two or three jobs at a fair price in exchange for honest reviews and permission to photograph the finished work.
Then build your local presence. A simple one-page website with your services, your service area, photos of finished patios and a phone number is enough. Set up a free business profile on Google with your service area and photos, and ask every happy customer for a review on it. Reviews are the cheapest advertising a patio business can buy.
Leaflets still work for this trade. A clean flyer through the doors of streets with older patios, timed for spring, can bring in more enquiries than a month of social media posts. And introduce yourself to local landscapers, garden designers and builders — they pass on patio work they do not want, and a reliable sub-contractor gets called again.
Step 8: Deliver Work Worth Photographing
A patio is a visual product. The finished surface is your advertisement, so finish every job as if a photographer is coming — because one is: you, with your phone. Sweep the joints, wash the surface, tidy the garden, remove all waste and take photos in good light from two or three angles before you leave.
Communicate during the job. Tell the customer each morning what will happen that day, warn them about noise and dust, and flag any problem the moment you find it — a buried pipe, poor drainage, a bigger excavation than expected. Customers forgive problems; they do not forgive surprises.
Turn up when you said you would, keep the site tidy, and finish on the day you promised. In a trade where no-shows are common, reliability alone wins you repeat work and referrals.
Step 9: Market Like a Local Business, Not a Big Brand
Once you have five finished jobs photographed, your marketing gets much easier. Post before-and-after photos of your patio installation services on local community groups and your business profile, with the size of the patio, the material used and the town — never the customer’s address or price. Short videos of a compactor running or pavers being laid get far more attention than a plain text post.
Build relationships with the people who see gardens every day: estate agents, garden centres, fencing companies and driveway installers. A single estate agent who recommends you to every buyer with a tired garden can fill your diary for a season.
Collect every customer’s email with permission and send one short seasonal message: spring patio checks, autumn re-sanding and sealing reminders. That one email a season keeps your name in front of people at exactly the moment they think about their garden. And keep asking for reviews — a business with forty genuine five-star reviews beats a bigger rival with three.
Step 10: Grow From One Pair of Hands to a Crew
When the diary is full three weeks ahead, it is time to grow. Hire one labourer first — someone reliable who can dig, barrow and compact while you set levels and lay pavers. Pay fairly, train them properly and keep them busy through winter with repairs, re-laying and small path jobs.
Add services only when the core is solid. Outdoor kitchens, fire pits, retaining walls and garden lighting all use the same customer base and the same groundwork skills, but each needs new tools and new learning. Add one at a time, price it properly, and photograph the first job well.
Keep your books honest as you grow. Track the cost of every job — materials, labour, delivery, disposal — and compare it with the quote. The gap between quote and actual cost is where your profit hides, and the patio installation contractors who measure it are the ones still trading in five years.
What You Can Earn
Earnings depend on your area, your speed and the materials you install, but the shape of the trade is generous. A two-person crew can usually complete a standard 20 to 30 square metre paver patio in two to three days. After materials, labour, delivery and disposal, a well-priced job of that size commonly leaves a healthy margin, and a busy crew working most weeks of the year can build a solid income from patios alone.
The stone patio cost for a premium job is higher than a concrete paver job, and the margin is usually higher too — but so is the risk, because natural stone is less forgiving and slower to lay. Many successful installers mix the two: volume paver jobs for steady cash flow and a few premium stone jobs each month for bigger tickets.
Your first year will be the leanest. Expect slower quoting, a few jobs priced too cheaply and days lost to weather. By year two, with reviews, referrals and a tested price list, the same crew earns noticeably more for the same hours. Keep a simple spreadsheet of the patio pavers cost on every job, so your quotes stay honest as supplier prices move. The patio installation cost you quote in year two should be higher than year one — not because you are greedy, but because you are faster, better and proven.
6 Mistakes That Sink New Patio Businesses
- Skipping the sub-base. A thin or poorly compacted base is the number one cause of sinking patios and angry customers. Dig deep enough, compact in layers and never rush this step.
- Quoting without seeing the site. Access, slopes, drainage and buried services change the price completely. Always visit before you quote.
- Forgetting drainage. A patio must fall away from the house. Get the levels wrong and water pools against the wall — and the customer calls you, not the rain.
- No deposit for materials. Ordering pavers on your own card for a customer who then changes their mind can wipe out a month’s profit. Take a materials deposit every time.
- Under-pricing to win work. The cheapest quote wins the job and loses the business. Price the job properly and let the cheapest installer have the customers you do not want.
- No photos and no reviews. In this trade, a photo of finished work is worth more than any advert. If you do not photograph it and ask for the review, the job’s marketing value is wasted.
Frequently Asked Questions
How much does a paver patio cost?
There is no single answer, because size, access, ground conditions and material choice all move the price. As a rough guide, a standard concrete paver patio costs far less than a natural stone one of the same size, and small patios cost more per square metre than large ones because the fixed costs — delivery, excavation and set-up — are spread over fewer metres. Always get a written, itemised quote after a site visit rather than trusting a phone estimate.
What is the cost to install a paver patio?
The cost to install a paver patio includes excavation and disposal, sub-base aggregate, bedding sand, the pavers, edging, jointing compound, labour and delivery. Labour is usually the largest single line. A straightforward 20-square-metre patio with easy access costs noticeably less than the same patio on a steep garden with narrow side access, so the site visit matters as much as the material choice.
How does brick patio cost compare with stone patio cost?
Brick patio cost usually sits below natural stone. Clay brick pavers are uniform, quick to lay in patterns such as herringbone, and easy to repair one brick at a time. Stone patio cost is higher because the slabs are heavier, slower to lay and harder to cut, but stone gives a premium natural look that many homeowners prefer. Ask your installer to quote both on the same patio so you can compare like with like.
Do I need a permit for a new patio?
It depends on where you live and the size of the job. A simple ground-level patio usually needs no permit, but patios with high retaining walls, steps or drainage changes often do. Your installer should check with the local authority before work starts — and if they shrug off the question, that is a warning sign.
How long does a patio installation take?
A standard 20 to 30 square metre paver patio usually takes two to three days for a two-person crew: one day for excavation and the sub-base, and one to two days for laying, cutting and jointing. Larger patios, natural stone and poor access can add days. Weather is the usual delay, so a good installer builds a buffer into the schedule rather than promising an exact finish date.
What should I ask before hiring a patio installer?
Ask for photos of recent patios they have actually built, two references you can call, proof of liability insurance, and a written itemised quote that lists materials, labour and the payment schedule. Also ask how they build the sub-base and how they handle drainage — the answers tell you quickly whether you are talking to a professional or a chancer.
How do I maintain a new patio?
Sweep it regularly, wash it a few times a year, and top up the jointing sand if it washes out. Re-seal a stone or paver patio every two to three years to protect the colour and slow weed growth. Pull weeds early rather than letting roots lift the joints, and never use a high-pressure washer at close range on jointing sand — it blasts the joints out.
Final Word
A patio-installation business rewards the installer who does the unglamorous work properly: a deep compacted base, honest levels, clear quotes and tidy sites. Learn the trade on someone else’s crew if you can, price every job from real numbers, insure yourself properly, and photograph every finished patio. The best patio installation companies in any town all started with one van and one crew, and the first five jobs are the hardest to win and the most important to get right — they become your portfolio, your reviews and your referrals. Do them well, and the sixth job onwards gets easier every time.

Patio Installation Services: Start Your Own Patio Business

Deck Building Services: Run Your Own Deck Building Business

Tile Installation Services: Start Your Own Tiling Business

Smooth Walls, Steady Pay: How to Start a Drywall Business

Open for Business: How to Start a Garage Door Business

Subfloor to Booked Solid: How to Start a Flooring Business

Arc to Income: How to Start a Welding Business

Keys to the Trade: How to Start a Locksmith Business

First Pour to Full Crew: How to Start a Concrete Business

Sparks to Success: How to Start an Electrical Business

How to Repurpose Blog Content for Social Media Without Starting From Scratch

How to Get More Clients for Your Business: Simple Ways That Actually Work

How to Write a Simple Business Plan for Your Small Business: A Practical Guide That Gets You Started

How to Create a Small Business Content Marketing Plan That Actually Gets Results

How to Write a Professional Business Email That Gets a Reply

Branding Tips for Small Businesses: A Simple Guide That Makes You Memorable
How to Handle Customer Complaints in a Small Business: A Calm, Practical Guide That Turns Problems Into Loyalty
How to Create a Content Calendar for a Small Business
How to Set Up a Simple Referral Program for Your Small Business: A Beginner’s Guide That Brings in New Customers

How to Set SMART Goals for a Small Business: A Practical Guide That Actually Works
Patio Installation Services: Start Your Own Patio Business
Deck Building Services: Run Your Own Deck Building Business
Tile Installation Services: Start Your Own Tiling Business
Smooth Walls, Steady Pay: How to Start a Drywall Business
Open for Business: How to Start a Garage Door Business
Subfloor to Booked Solid: How to Start a Flooring Business
Arc to Income: How to Start a Welding Business
Keys to the Trade: How to Start a Locksmith Business
First Pour to Full Crew: How to Start a Concrete Business
Sparks to Success: How to Start an Electrical Business

 entertainment1 year ago
PYT Telegram: A Complete Guide to Understanding, Using, and Maximizing It

 entertainment1 year ago
OnionFlix: Everything You Need to Know About This Streaming Website
- education1 year ago
How to Become a Software Engineer: A Complete Guide
- entertainment10 months ago
Brainrot Memes: The Unhinged Humor of the Internet Generation